The sun goes through a 12 year cycle with regards to its activity. It goes from very active to very sleepy. The active period is known as Solar maximum and we are in a solar maximum this year (2013). With the VERY exciting solar activity that has occurred in the last few days and the hope and promise of more to come, I asked on my Facebook page if anyone would be interested in a blog post about how to photograph an Aurora. The response was positive, and so here it is.
Firstly I will assume that we already know that an Aurora is possible and that you don’t want to know how Auroras are caused or any of the nerdy technical details of an Aurora. You just want to take photos of the Aurora. OK! (If you do want to know about how an Aurora is CAUSED then this video is fantastic! It is just under 5 minutes and explains it perfectly).
What do you need to photograph an Aurora
- A camera. YES! That’s right. You will need a camera that allows you to take manual control of the settings and the focus and push the ISO up.
- A fast and wide lens. Honestly you can photograph the Aurora with pretty much any lens, but if you want the ideal set up, then fast and wide is it. The lower the aperture number (ie F2.8) the more light the lens will let in and you will get more light from the Aurora in your image. A wider lens allows you to get more of the sky in your photo (it looks more impressive!) Don’t fret if you don’t have a wide lens, you can always stitch multiple images together into a panorama using photoshop. Though a narrower lens will fill the frame with the Aurora, that can be great too! Experiment with your compositions and have fun!
- A tripod – a good sturdy tripod that can actually take the weight of your camera and lens. You will be leaving the shutter open a long time and if your camera moves on the tripod in this time then you will be VERY annoyed – trust me.
- Either a remote shutter release or the ability to set a timer on your camera. (this will cut the camera shake from manually pressing the shutter button). I have a release, but I usually just set the camera to a 2 second timer.
- Extra batteries and plenty of memory cards. Cold weather can drain batteries faster, so grab an extra one.
- A light. These are fun for lightbombing people called ‘Jo’, but are also useful to being able to see what you are doing in the dark. (don’t really lightbomb people, they will get annoyed. Keep light use to a minimum, and turn it off when you don’t need it. Head lamps with a red option are best (though I don’t have one) ). Phone screens are good minimal light and I used this for a while until I dropped it and smashed in on the rocks, so now I use a head lamp 😉
- Warm clothes, beanie, gloves and I find that shoes with a thick sole are the best – cold creeps up through the earth and into our feet very fast and will make you FREEZE. Rug up, it gets cold at night. You don’t want to cut your session short because you get cold. I wear gloves from Kathmandu that have a mit thing that sits over fingerless gloves. So I can easily expose my fingers to change camera settings without removing my whole glove. Yes it really is the smallest things when you are cold! 🙂
- A friend to keep you company – in case nothing happens, some patience and a tank of fuel.
Ready? Ok! Here’s how to do it.
- Ok, firstly you need to head somewhere dark and away from city lights/light pollution. At the bottom of this blog post I will give you the three most frequented locations around the Hobart area.
- Get your camera on your tripod, set you lens to manual focus and focus on infinity, turn your self timer on, or attach your shutter release. Manually set your white balance – the generally accepted norm is that WB should be set to daylight. People argue about this all of the time, but I find that for me, this produces colours that I consider accurate. For a dark night with no/minimal moon, a good place to start with your settings is:
– Aperture – as low as you can go (f2.8 for example)
– Shutter speed – around 15 seconds. (If you go longer to about 30 seconds, you might start to get stars beginning to trail and the curtains of the Aurora might blur together into solid colour. So it depends on the effect you want. Experiment and see what you like)
– ISO – this is where you make up the balance. Start at ISO of 1000. Take your aperture and shutter speed as a given now and adjust your ISO to let more light in or block light out. If your photo is dark you need to increase ISO, if it is too bright, then reduce your ISO. If you have a low end camera your images will be ‘noisy’ at high ISOs, a little noise can be handled in post processing, too much will destroy the photo. If you have way too much noise then you have no choice but to increase your shutter speed toward 30 seconds.
- Experiment with your settings. Faster shutter speeds will get better curtains, but will require a high ISO. Slower shutter speeds will allow you to blur your curtains into solid blocks of colour (you might like this) but your stars might begin to trail.
My tips:
TEST SHOT When you get to your location and want to test a composition, or see where the Aurora is and how bright it is (they aren’t always visible to the naked eye), push your ISO as HIGH as you can go, and take a 5 second photo. This allows you to really quickly do a ‘test shot’ before hankering down and setting everything up or wasting 30 seconds of time to find out what you need to know quickly. Once you have done the test shot, have a composition you like and are pointed in the right direction, adjust your settings and get to work. (I do hand held test shots on arrival).
MOVE. It is very tempting to just sit in one place and take 500 photos of the same thing. The Aurora changes every few seconds and it is so exciting, but when you get home and look through those 500 photos and realise you really only have 1 photo, or maybe 2 because they are ALL THE SAME. You’ll slap yourself. (again, trust me 😉 ).
Infinity focus.
Each lens is actually different, and not all lenses focus at infinity on the line or on the infinity symbol (sideways 8). You will need to fiddle with this to work out your sweet spot using trial and error. If you have live view mode on your camera then it is easy to work out your infinity focus point.
– Flick on live view mode and find a bright star in the sky.
– Zoom in as far as you can on this star using the + magnification on the live view display (not using your lens).
– Adjust the focus ring on your lens until the star is pin sharp on your screen.
– STOP.
Look at your focusing ring and note where the sweet spot is for infinity. Mark it if necessary (I know some people who have scratched this mark in using a Standley knife so they can find it easy in the dark! Ha!) This will always be your sweet spot for infinity focussing for night photography. Always check your focus each time you move location or put your camera in and out of your bag. 🙂
Avoid star trailing – the 600 rule.
To avoid your stars trailing in your shot, keep the 600 rule in mind. On a full frame camera divide 600 by the focal length of your lens to get the maximum number of seconds that you could have the shutter open before stars trail. For example if you are using a 24mm lens on a full frame camera, then you could open the shutter for 600/24 = 25 seconds without stars trailing. To prevent your stars turning into ‘eggs’, go for 500 instead of 600. If you are using a crop body, then multiply your focal length by the crop factor before calculating. For example a Canon 7D has a 1.6x crop. So a 24mm lens on this camera is 24×1.6 = 38.4. 600/38.4 = 15 seconds maximum shutter length to avoid trailing.
Join the Aurora Tasmania facebook group
To get a heads up on a possible Aurora and to find out about confirmed sighting before getting out of your pyjamas, then this is the place!
Where to photograph an Aurora
People ALWAYS ask me ‘Where should I go to get a good photo of the Aurora’ The VERY simple answer is ‘anywhere away from light pollution that gives you a good view south’. But most of us (including myself) seem to be direction challenged, and unless I saw where the sun rose, I have no idea where East is! So get onto Google maps and suss out some locations. Heading south from the city is good because it puts the city lights behind you. The tried and tested Aurora spotting locations close to Hobart are:
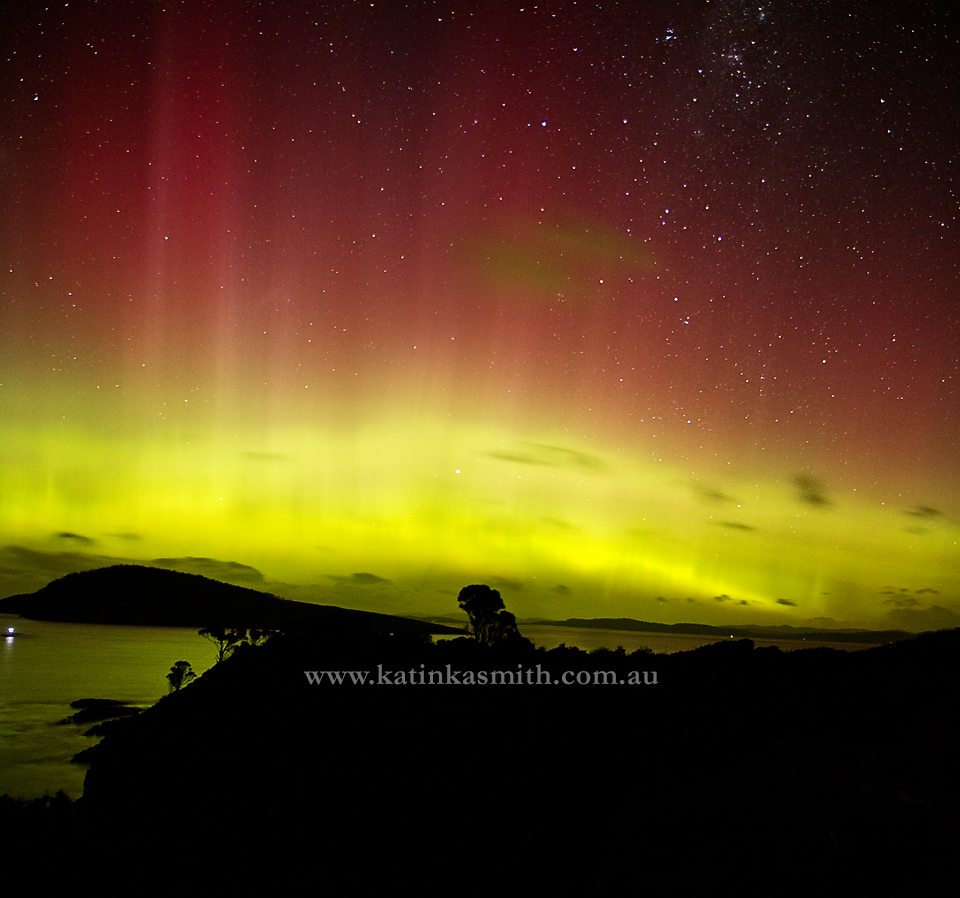
Betsy Island look out at South arm off South Arm Road (July 2012 – x1 class flare):
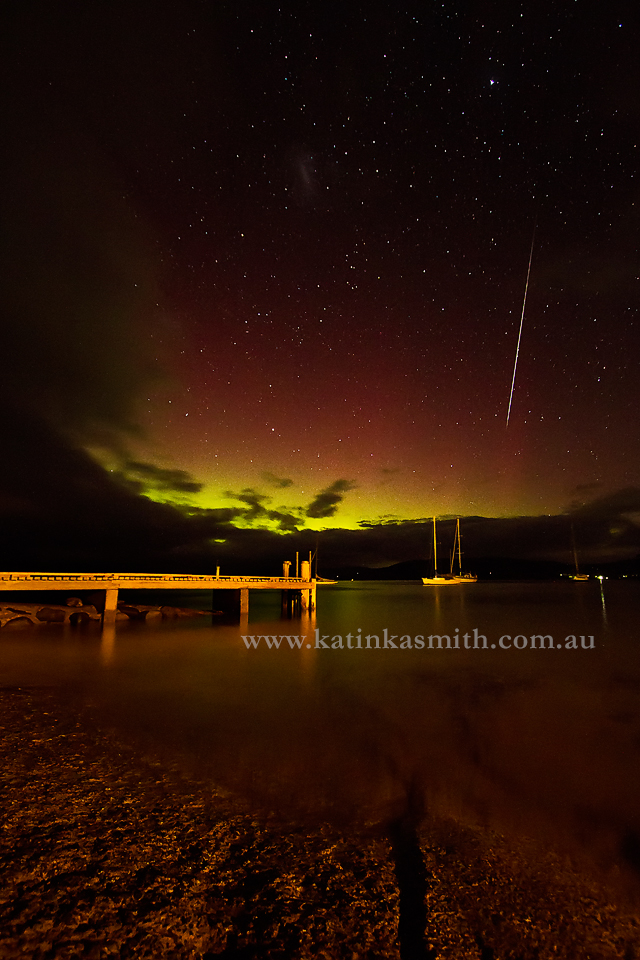
The beach and Jetty at Fergussons Avenue, Tinderbox (18 March 2013, Aurora with meteor):
Howden Boat ramp at the end of Wingara Road (1 March 2013):
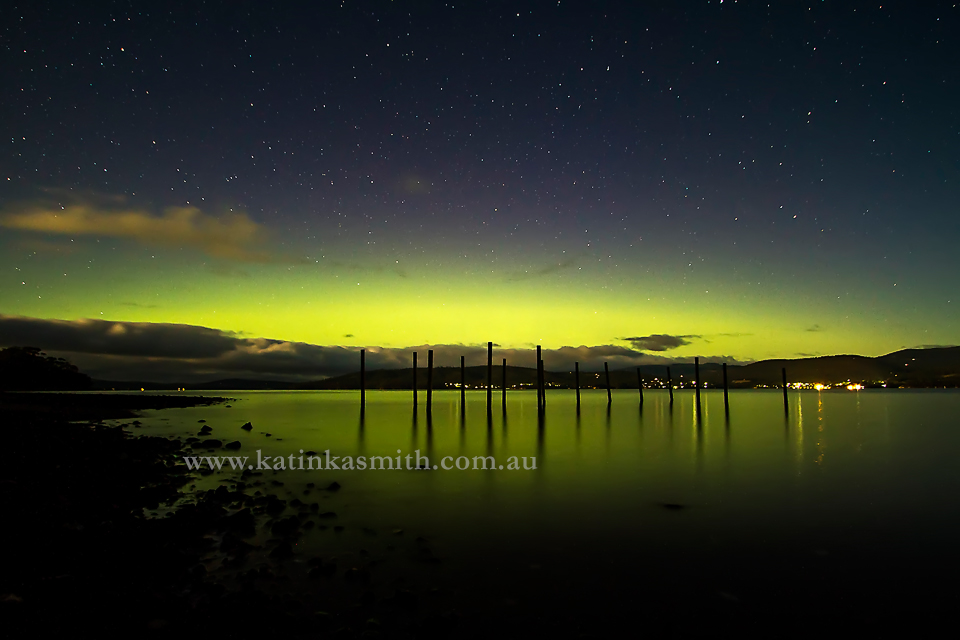
Howden boat ramp 1 May 2013 (coronal stream)
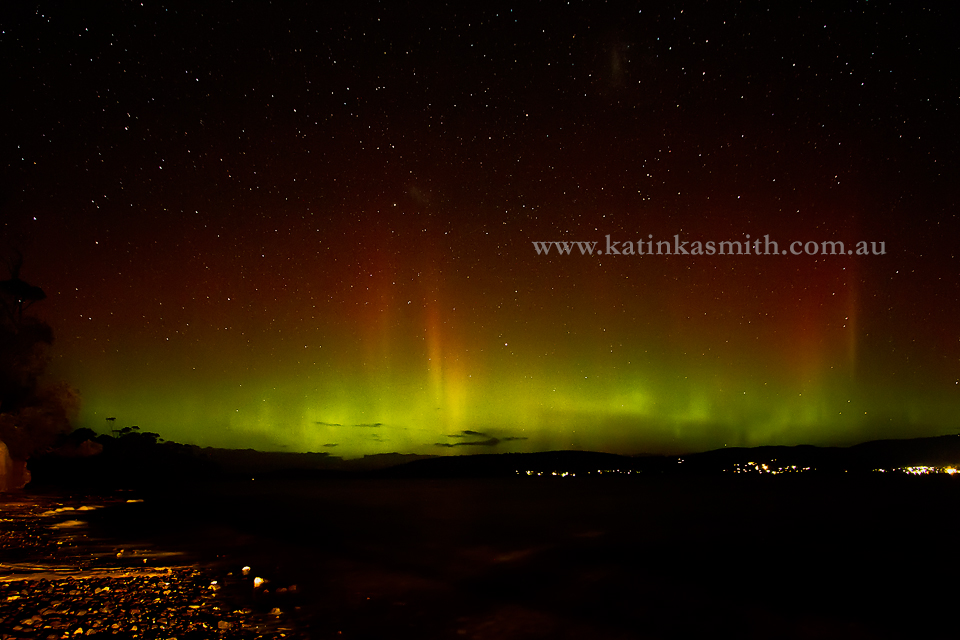
Good luck! Feel free to visit Katinka Smith Photography Facebook and let me know how you went! Or comment below, I would love to hear from you all! If you have any questions then please feel free to ask me 🙂
Katinka
